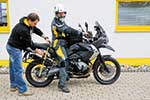
Setting up your adventure bike’s suspension
Tuning your motorcycle’s suspension is not a black art that only the experts can perfect – although some knowledge of the procedures involved will help ease the pain.
Our step-by-step guide to tuning your suspension, and to setting the correct ride height for your adventure bike, will make your next trip a lot more comfortable and safer.
Our easy-to-understand photos and text will help take the pain out of a once complicated task.
Tuning the damping:
With the special Touratech setup for a rider’s weight including luggage of up to 100kg, Touratech Suspension shock absorbers are ideally adjusted out-of-the-box for 90% of road surface conditions and uses. The only important thing is to remember to adjust the spring preload (balance/sag) as the load increases. This ensures your headlight isn’t pointing at the treetops. Adjusting the damping is a matter of fine-tuning.
Adventure touring with pillion passenger and luggage:
To keep the bike balanced despite the extra load, the preload on the shock absorber spring has to be increased to restore the ratio between positive and negative spring travel. The damping should be set somewhat harder to stop the bike bouncing around.
- Spring reload (see fig. 1): increase slightly at the front
- (if possible), increase more at the rear
- Compression (see fig. 2): somewhat harder at the front and rear until comfortable for you (high speed / low speed)
- Rebound (see fig. 3): somewhat harder at the front, somewhat harder at the rear
- Careful – not too much, so the shock absorber still develops enough grip
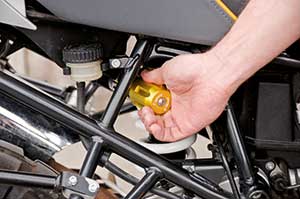
Figure 1
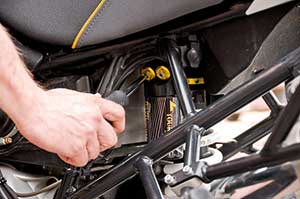
Figure 2
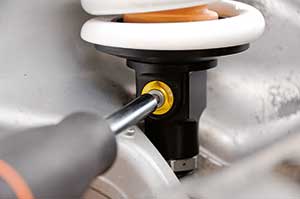
Figure 3
Adjusting the bike’s ride height
To adjust the height of the bike, measure the distance between the rear axle and a reference point on the bike.
This distance should be measured with no load on the suspension (1), under the bike’s own weight (2), and with a typical load (3), eg: solo rider, rider with luggage, two people without luggage.
For measurements 2 and 3 respectively, 10% and 30% of the total spring travel should be used.

Figure 1
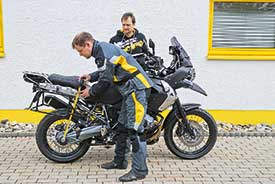
Figure 2
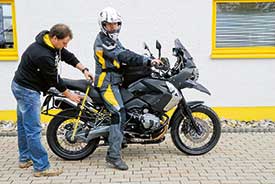
Figure 3