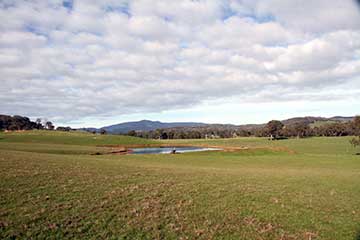
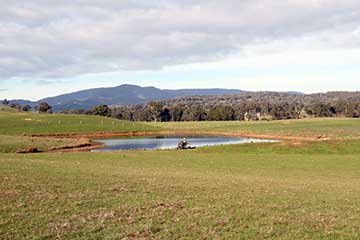
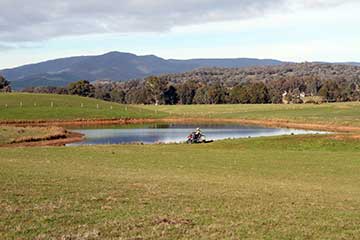
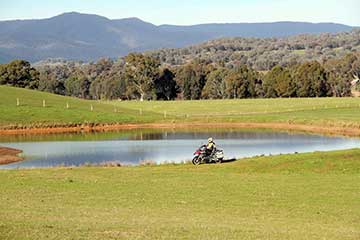
More often than not, your big motorcycle adventure trip (or even a weekend ride) is the culmination of lots of planning and saving to enable you to buy the best bike and adventure equipment to do the job properly.
You may have worked many hours of overtime and sacrificed plenty just to raise the money for your adventure, so it makes sense that you’ll want to record every ‘Kodak Moment’ of your trip when you do jump on the bike and head off into the wild blue yonder, and preserve the memories for ever after.
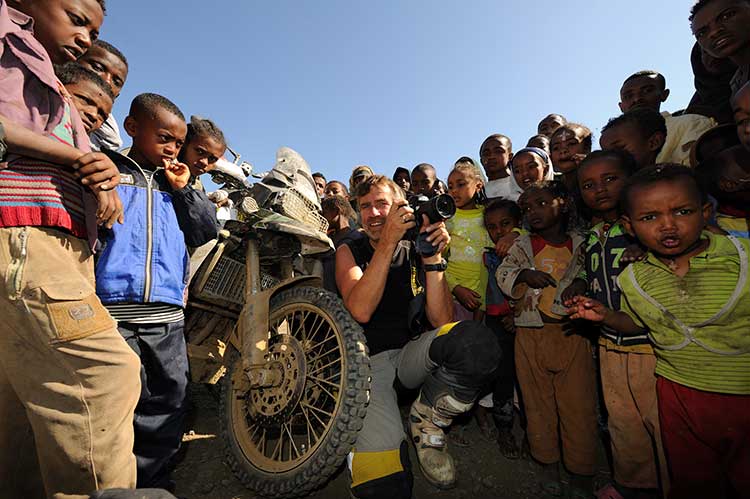
Those of you with good audio visual skills will no doubt arm yourselves with the latest and greatest in video cameras, but for the majority of us, a still camera (or even a smartphone) is what we’ll take – not only for ease of use, but for instant results that don’t require hours and hours of editing once we return home.
Touratech’s Peter Whitten, a long-time photographer and journalist, provides a few tips to help you keep the memories of your ride fresh in your mind long after you’ve washed the bike and parked it back in the garage.
WHAT TYPE OF CAMERA
This is probably the $64,000 question, and the answer will depend on a number of variables, including size, experience and cost. There are so many choices and brands available these days that you could be forgiven for thinking that buying a camera is a real minefield, but it’s not as difficult as you might imagine.
Here, we’ve broken the cameras into four categories, which will hopefully make your decision a lot easier.

In the second decade of the 21st century, there are literally dozens of different cameras to choose from, and without question, the most common of these is built into your mobile phone. Technology is a wonderful thing and companies such as Apple and Samsung now produce camera phones with amazing picture quality and clarity.
These have many advantages, such as their portability and their capability of taking both still photos and video, however, on most phones there are very few settings. In good light and when everything is in your favour, they’ll take a great shot, but as soon as the conditions aren’t ideal, then you may find yourself struggling to get acceptable results.
Because of their small size, phones are also often difficult to hold still when it’s windy, when you’re moving, or in other challenging conditions. As a result, you may get blurred photos that you will be disappointed with. While digital cameras have also got smaller in size in recent years, their adjustable settings enable you to overcome many of these problems.
In a nutshell, it’s great to have your phone handy to record photos and video as a back up, but you may not want to put all your eggs in one basket and risk all your memories on a device that is, first and foremost, designed to make telephone calls.
Compact Digital Cameras:
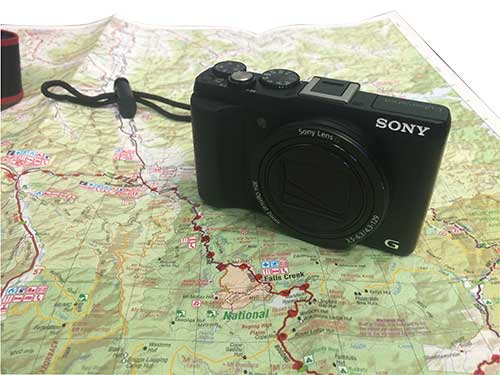
This is where things get difficult if you’re setting out to buy a camera for your adventure ride. There are so many different brands of camera, and they all promise to provide you with great photos, ease of use, etc., etc.
We’re not about to start telling you what you should buy – we’ll leave that to the experts in the camera shops – however, as a rule of thumb, I’ve always favoured the idea of buying a camera from companies that specialise in cameras, and have built their name and their reputation on doing so.
Touratech have made their reputation making motorcycle accessories, Apple has done so in computers and phones, and companies like Canon and Nikon have done so making cameras. That’s not to say that you should overlook other brands, but it’s worth remembering that companies who specialise in cameras do so for a reason.
Your choice of a digital camera will probably come down to the size of the actual camera (and how you’re going to store it while travelling), and the amount of zoom that it provides. Yet while important, these should be only a small part of your decision.
A 15x zoom may sound a lot more impressive than a 10x zoom, but the quality (and price) of the camera will determine the quality of the image you take.
More so than the size or the zoom capabilities of a camera, it’s the settings that will really help you to produce great photos. Any good camera now has multiple settings that range from doing everything for you, to allowing the more creative photographer to change anything from the shutter speed to the aperture.
This gives you far more creativity in your photography, but it doesn’t mean you have to be a pro to get good shots. How much you use the settings depends on your interest in playing around with the camera. Some of you will love the chance to experiment (and with digital photography you can see your results instantly), while others will simply be wanting to take their photos in the traditional ‘point and shoot’ way with the camera set to automatic.
Regardless of what you want to achieve and how you’re going to use the camera, it’s worth doing a lot of research before making your purchase, and here is where the internet is your friend. There are usually dozens of camera reviews on the web, and simply by ‘Google-ing’ the camera make and model, you’ll be able to read what the experts (and others) think of it.
It’s wise to buy the best camera you can reasonably afford. You may only get one chance at your dream motorcycle adventure trip, so don’t risk missing the chance to capture those memories by using a camera that isn’t up to the job.
Digital SLR cameras:
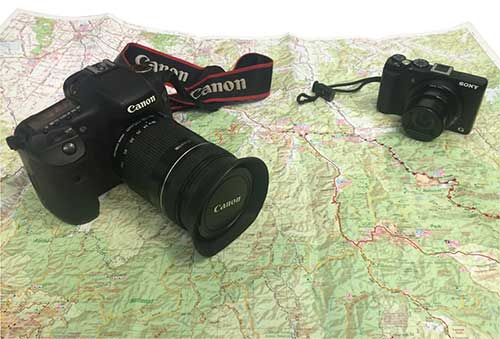
There was a time when if you wanted choice in your photography, you simply had to have an SLR camera. SLR stands for ‘Single Lens Reflex’ and in basic terms relates to a camera that has a removable lens. Before digital photography, SLR cameras gave you the choice to adjust the settings when and how you wanted, yet nowadays, virtually every digital camera has these options.
Where a digital SLR comes into its own is in the quality of lenses used, and the option of getting more light into the camera to produce better images, but this comes at a cost.
There’s no doubt that you can capture great images with a $59 camera that you purchased from Big W, but there’s a reason why you see professional photographers carrying around massive lenses that look like telescopes. More glass means more light getting into the camera, and clearer photos in almost any light.
But don’t think you need the big lens to get the good shot. Most camera retailers offer package deals for digital SLRs that give you two lenses that will allow you to photograph just about any scene you can think of.
A camera lens’ focal length is expressed in millimetres, with the human eye seeing things in the vicinity of 22mm to 30mm. Traditionally, a camera will be sold with a lens (say, 28mm to 85mm) that will allow you to photograph most things on your trip – people, landscapes, buildings, etc. But if you’re after more control, and the ability to zoom in, then zoom lenses (with a focal length from 70mm to 200mm, for example) can be included in the camera package.
Another advantage of a Digital SLR camera is the speed of the shutter to take the image. Many compact cameras and phones are slow to react and if you’re trying to capture a fast-moving scene, then there is a chance you’ll miss the “money shot”. A Digital SLR camera will provide much better response time, giving you better results across the board.
Of course DSLR cameras are generally quite a lot bigger than their compact counterparts, which when travelling on a motorcycle is a major consideration. But the choice is yours, and your decision will usually come down to if you simply want a ‘point and shoot’ camera, or one that offers you countless options to unleash your creative side.
For 95% of people, a Compact Digital Camera will probably be the solution, providing enough variation in settings and zoom to give you brilliant photos of your trip. However, if you do choose to go down the Digital SLR route, then you’ll get results that justify the extra equipment cost.
GO-PROs and other compact video cameras
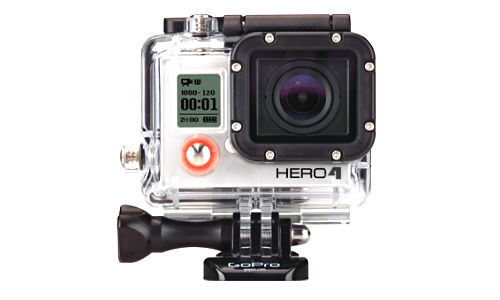
These days, many adventurer riders have got a Go-Pro camera (or similar) strapped to their handlebars, their helmet or somewhere else on their bike. This is fantastic for recording your ride and the amazing scenery that you’ll come across on the way, but do you have a plan for what you’re going to do with that footage when you get home?
It’s easy to flick through dozens of still photos on your computer screen as you show friends the highlights of your trip, but how many of them will want to sit through hours of video footage looking at the road in front of you? It’s also worth noting that most of these cameras will take still photos as well (usually at intervals of five to 10 seconds), giving you another photographic option while riding along. By doing this you will end up with thousands of photos, so good editing software and a keen eye for what photos you’re after will be required.
You may have grand plans to edit the video footage and make your own movie, or upload the highlights to YouTube, and that’s great if you do. Just remember that the footage may end up spending its life on your computer, never to be seen by anyone else.
In our experience, the best place to mount your camera is on the side of your helmet, giving you the best perspective through the lens. Other locations, such as on top of the helmet, or on the motorbike forks, can provide an unrealistic view that is either too high or too low.
The choice of portable videos cameras is almost endless now, starting with the Go-Pro right through to other models from Harvey Norman, Dick Smith or even Aldi and Kogan. So do your research (again, start on the internet) on what you need from your camera, and which one will do the job your require.
Like most things in life, the dollars spent will generally equate to the quality of the product, so don’t rush in, blinded by a bargain.
Lens length
Different size lenses on your camera will give you totally different photographs. From the wide-angle 18mm lens, right through to the bigger 200mm lens, you can capture just about any scene you want with a digital SLR and a range of lenses.
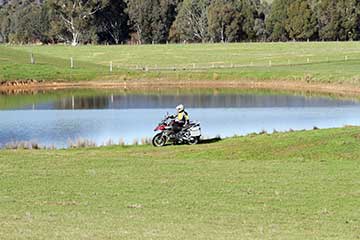
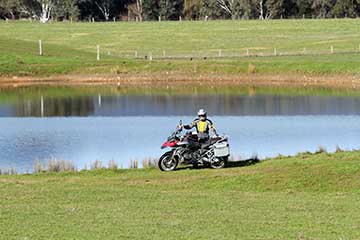
Here’s a quick demonstration of how different lens length affects an image. The photographer and subject were in the same place for each image – only the lens length has changed.
18mm
35mm
50mm
80mm
135mm
200mm
YOU’LL ALSO NEED ….
Memory Cards
Digital cameras store their photos on memory cards that slot into your camera. These cards have come down in price tremendously over the past few years, and come in various sizes.
Because we want to record as many images of our trip as possible, the most common practice is to buy the biggest memory card you can, so that you won’t run out of space. But this can be a big mistake.
I have friends who have twice had their camera stolen while on an international holiday, and in the process they lost all their photos up until that point. While they’ve managed to buy another camera, all their photographic memories from before then are gone forever.
It’s a good idea to buy several memory cards that you use for different sections of your adventure – one for different ‘legs’ of your trip. That way, if you do lose a card or have your camera stolen, you haven’t lost everything.
Most importantly, though, DO NOT carry your used memory cards in the same place as your camera, because if that gets stolen, you’ve lost the lot. Give the used cards to a travelling companion, or whoever is not carrying the camera, just in case.
If you have the opportunity, say halfway through your trip, take your memory cards into a photo lab and have them all burnt to CD or DVD. This gives you a second copy of your photos, should the unthinkable happen.
Batteries
Flat batteries could be your worst nightmare, and if you don’t plan carefully enough, it might be something that haunts you long after your trip finishes. If your camera uses AA batteries, then it’s highly recommended that you use re-chargeable batteries in your camera, as these generally hold their charge longer.
If your camera uses special lithium batteries, it would be worthwhile purchasing a spare battery before you leave.
In either case, it’s important to carry your battery charger with you so that you’ll never be caught short. Re-charge your batteries whenever possible, so that you’ll be ready to go the next morning.
If you’re travelling abroad, remember that you may need an adaptor so that you can still use your charger.
IN CLOSING ….
Photography is a great pastime and will give you lasting memories of your trip.
The information above, while in no terms a complete guide, should help you to make the right decisions when selecting photographic equipment for your adventure motorcycle trip.
The right solution for someone else may not always be the right solution for your, so speak to the experts, speak to fellow travellers, and make the choices that are best for your needs.
– Peter Whitten
BEEN THERE, DONE THAT
World traveller, Sherri-Jo Wilkins, gives her photography tips after spending three years and 128,000km on her bike, experiencing many countries.
“I went through three cameras on my trip, but I ended up just being happy with my Panasonic DMC-TS3 point and shoot. It’s waterproof up to three metres, shockproof and dustproof, so I can wear it around my neck and take photos while riding.
Or I can jump off the bike and go swimming with sea lions in the ocean, and it’s always right.
The only thing I carried was an extra battery for those very busy scenic days when I snap away all day long, and the charger.
I always purchased an extra battery with every camera, and for the current camera I have three. That way if you camp a lot with no chance to recharge I am covered, and the spare batteries to my camera are small in comparison to the larger cameras.
However, it doesn’t take photos as nice as the big guys with the big lenses, but I don’t think they are bad either!
It was my choice not to travel with the big camera equipment. I started off doing so, but I found I couldn’t be bothered to change lenses for different scenarios, extra lighting, setting up tripods, etc. I don’t have the patience.
I like that I can be riding along and see something beautiful or interesting and just grab the camera and snap it without having to pull over, stop the bike, get into the tank bag and fiddle around with things, and by then the thing I wanted a photo of had probably already finished and I missed it.
One thing I do that saves taking all the nice lenses and filters is use a good photo editing program at night. I used Aperture, which was a popular program with Apple (now replaced by Apple’s ‘Photos’).
It was great for enhancing things I might not have got with the little camera, like better lighting, contrast, saturation, etc. Along with cropping, I think the photo enhancing on the computer, rather than carrying the big fancy camera, has produced the best results for me.”
– Sherri Jo Wilkins
Recent Comments